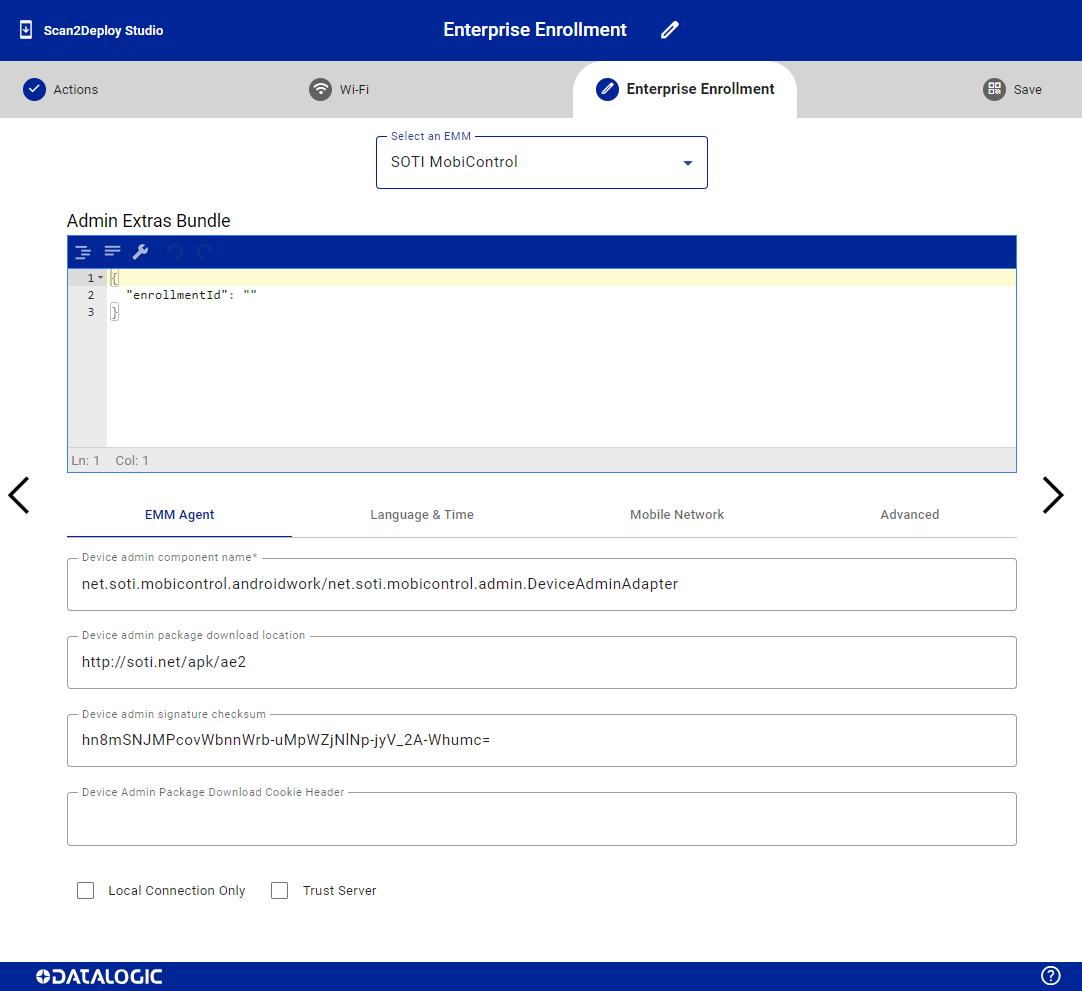
Enterprise Enrollment Page
This page enables users to configure enrollment settings for use with Scan2Deploy barcodes, streamlining device provisioning into enterprise mobility management (EMM) platforms. By embedding enrollment information directly into the barcode, Scan2Deploy agents can automatically enroll devices with supported EMM solutions such as SOTI MobiControl and Microsoft Intune. This eliminates the need for manual configuration, simplifies bulk deployments, and ensures a consistent and secure onboarding process across an organization’s mobile infrastructure.
Minimum required firmware
Enterprise Enrollment requires firmware support and was just added in July 2025, device support may be extremely limited at this time. If you encounter difficulty using Enterprise Enrollment with Scan2Deploy Studio, update the firmware of your device or consider using AEQR Code Generator instead.
The following table shows the minimum firmware version required to support this feature:
| Device | OS Version | Minimum Firmware Version |
|---|---|---|
| Falcon X60 | 15 | ✅ |
| Skorpio X40 | 15 | ✅ |
| Joya Smart | 15 | ✅ |
| Memor 30/30X, Memor 35/35X | 15 13 | ✅ 1.21.001 |
| Memor 12, Memor 17 | 15 13 | ✅ 1.21.001 |
| Memor K20, Memor K25 | 13 | 1.01.05 |
| Memor 11 | 13 11 | 2.07.16 ❌ |
| Joya Touch 22 | 13 11 | ❌ ❌ |
| Skorpio X5 | 13 11 11 | 4.08.001 ❌ ❌ |
Legend: ✅ Supported in every release • X.XX.XXX First version supported • ❌ Not Supported in any release
Selecting an EMM
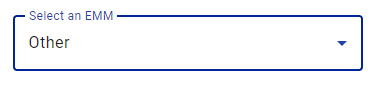
The first step to setting up Enterprise Enrollment is selecting the EMM provider. By default, the EMM is set to Other, allowing administrators to manually configure enrollment settings for an unlisted provider. To streamline the process with Datalogic’s supported EMM partners, choose the appropriate EMM from the drop-down list. Once selected, the system will automatically populate the Admin Extras Bundle and EMM Agent sections with relevant information.
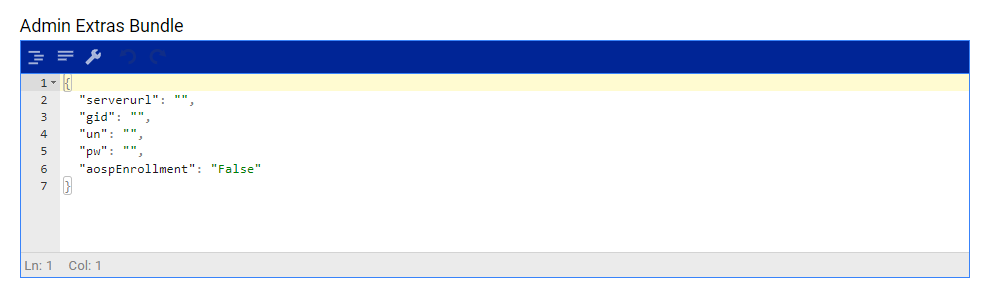
Admin Extras Bundle
Setting up the Admin Extras Bundle is optional and depends on your selected EMM; once an EMM is chosen, it will automatically populate the accepted keys for the EMM Agent, and you must supply values for those keys. Any key left without a value will be excluded, and you're also allowed to delete the auto-populated keys or add new key-value pairs as needed—though it's strongly recommended to consult your EMM provider before making changes to avoid provisioning errors. The content of this field must be a valid JSON.
EMM Agent Tab
The fields under this tab are specific to your EMM solution and should be provided by your EMM vendor. It most cases they should not be manually modified, as incorrect entries may prevent successful device provisioning or policy enforcement. If you're unsure where to find this information, please refer to your EMM provider’s documentation or support team.
The EMM Agent tab contains settings are critical for EMM enrollment. The fields in this tab are automatically given default values depending on the EMM selection.
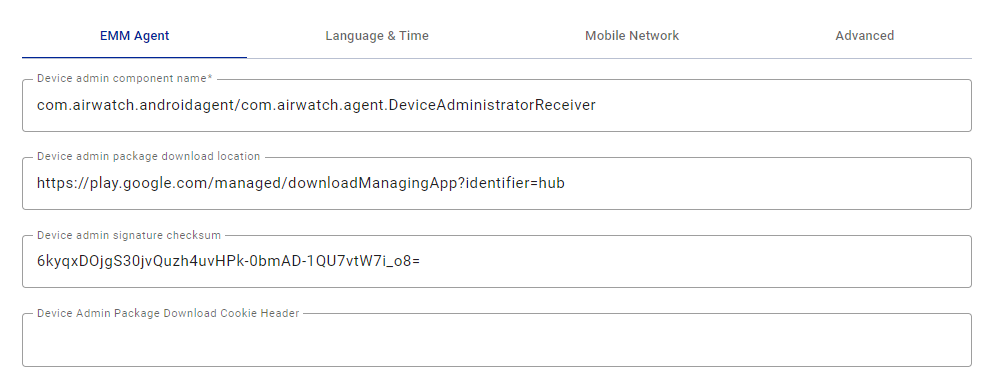
The following fields are exposed on the EMM Agent Tab:
Device Admin Component Name
The admin receiver of the EMM application. This value is specific to each EMM The following example shows the general format:
com.emm.android/DeviceAdminReceiver
Device Admin Package Download Location
A URL that specifies the download location of the device admin package. The following is an example:
https://github.com/mdm/agent.apk
On Datalogic devices, the device admin package can be downloaded from a FTP server. The following is the format of the URL:
ftp://user:password@host:port/path
The following is an example:
ftp://username:1234@192.168.1.2:21/mdm/agent.apk
Device Admin Signature Checksum
The checksum field is used to verify that the admin application being installed has not been modified or tampered with. It is typically provided by the EMM app developer. If necessary, you can generate this value manually using the APK. Providing a valid checksum is essential for ensuring the integrity of the application during device provisioning, as an incorrect or missing checksum may cause the installation to fail.
Determining the signature checksum of an APK
This example method requires the use of a third party tools: apksigner, xxd, tr, and openssl. By following this example, the end user is agreeing to assuming all risk that may be associated with the installation and usage of the aforementioned tools. Datalogic will not be held liable for any issues that may arise from their use.
The checksum output can be generated as follows:
- Bash
- PowerShell One-Liner
- PowerShell Script
apksigner verify -print-certs MY_APP.apk | grep -Po "(?<=SHA-256 digest:) .*" | xxd -r -p | openssl base64 | tr -- '+/=' '-_'
$hex = (apksigner verify -print-certs MY_APP.apk | Select-String -Pattern 'SHA-256 digest:\s*(\w+)' | ForEach-Object { $_.Matches[0].Groups[1].Value }); [Convert]::ToBase64String(([byte[]]($hex -split '(.{2})' | Where-Object { $_ } | ForEach-Object { [Convert]::ToByte($_,16) }))) -replace '\+','-' -replace '/','_' -replace '=',''
# PowerShell script to extract the SHA-256 digest from an APK file,
# convert it from hex to binary, encode it in Base64, and make it URL-safe.

# Step 1: Run apksigner to print certificate info
# Replace the path with your actual APK file path
$apkFile = "MY_APP.apk"
$apksignerOutput = apksigner verify -print-certs $apkFile

# Step 2: Extract the SHA-256 digest (hex string) using regex
$hex = ($apksignerOutput | Select-String -Pattern 'SHA-256 digest:\s*(\w+)' | ForEach-Object {
    $_.Matches[0].Groups[1].Value
})

# Step 3: Convert the hex string to a byte array
$bytes = $hex -split '(.{2})' | Where-Object { $_ } | ForEach-Object {
    [Convert]::ToByte($_, 16)
}

# Step 4: Encode the byte array to Base64
$base64 = [Convert]::ToBase64String([byte[]]$bytes)

# Step 5: Make the Base64 string URL-safe by replacing characters and removing padding
$urlSafeBase64 = $base64 -replace '\+', '-' -replace '/', '_' -replace '=', ''

# Step 6: Output the result
$urlSafeBase64
Device Admin Package Download Cookie Header
Allows for the inclusion of an HTTP cookie header when downloading the EMM application. This is necessary if the download location requires authentication, such as a token or session-based access.
Local Connection Only
Allows the EMM Agent to be downloaded from a server located on a closed network, without internet access.
Trust Server
Allows the EMM Agent to be downloaded from a server that uses a HTTPS certificate that is not trusted by the Android Keystore.
Language & Time Tab
The Language & Time tab contains settings that configure the language, location, and time settings.
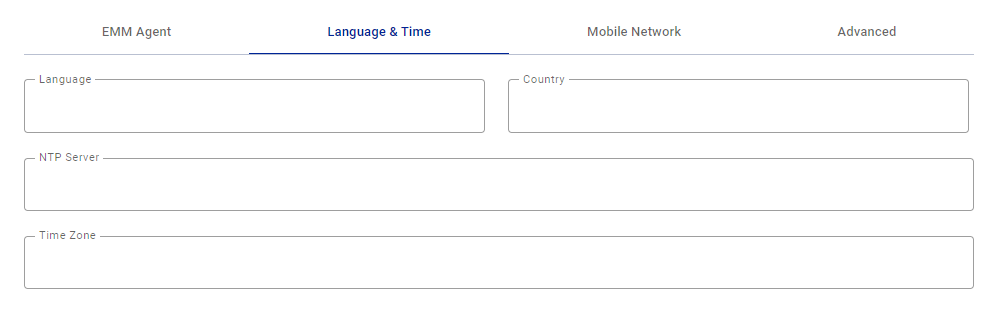
The following table defines the fields exposed in the Language & Time tab:
| Setting | Description |
|---|---|
| Language | Sets the language of the device. |
| Country | Sets the country where the device is located. |
| NTP Server | Specifies the Network Time Protocol (NTP) server used for time synchronization. |
| Time Zone | Set the device time zone. |
Mobile Network Tab
The Mobile Network tab contains settings that configure enrollment over a cellular network.
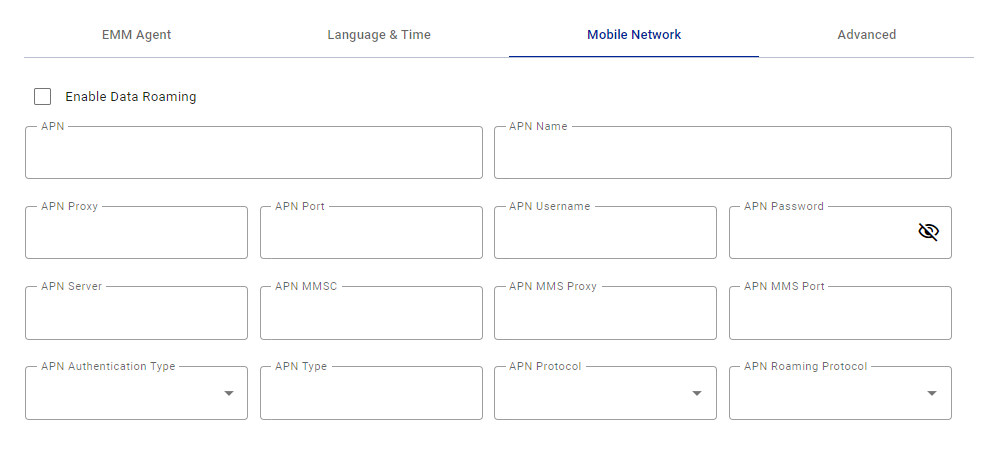
The following table defines the fields exposed in the Mobile Network tab:
| Setting | Description |
|---|---|
| APN | The access point used to connect with a carrier's data network. |
| APN Name | Friendly name of the connection. |
| APN Proxy | An optional server address used to route network traffic. |
| APN Port | The port number used with the proxy. |
| APN Username | Used for authentication with the carrier’s network. |
| APN Password | Paired with the username for authentication. |
| APN Server | Server address your device should use when connecting to the mobile data network. |
| APN MMSC | The URL of the Multimedia Messaging Service Center (MMSC), required for MMS. |
| APN MMSC Proxy | A proxy server used specifically for Messaging Service Center (MMS) traffic. |
| APN MMS Port | The port used with the MMS proxy. |
| APN Authentication Type | Specifies the type of authentication (e.g., PAP, CHAP). |
| APN Type | Defines what the APN is used for (e.g., default, mms). |
| APN Protocol | Determines the IP protocol used (e.g., IPv4, IPv6, or IPv4/IPv6). |
| APN Roaming Protocol | Determines the IP protocol used for roaming (e.g., IPv4, IPv6, or IPv4/IPv6). |
Advanced Tab
The Advanced tab contains settings that configure advanced enterprise enrollment settings.

Leave All System Apps Enabled
When enabled, this setting prevents an EMM from disabling system apps while provisioning the device.
Expedite Setup
Streamlines the enrollment process by skipping all manual interactions where possible.
Enable USB Debugging
Enables debugging using the Android Debug Bridge (ADB) over USB.