Installing Datalogic OPOS
Datalogic OPOS is a set of Windows drivers that allow application developers to communicate with Datalogic Scanners and Scales. The Datalogic OPOS drivers can be installed for use within any UnifiedPOS compliant Point of Sale application.
These drivers have been tested and verified to work on the following operating systems:
- Microsoft Windows Vista, Windows 7, Windows 8, Windows 10
Requirements
Datalogic OPOS has the following operating system requirements for installation:
- Administrator privileges
Installing
To install Datalogic OPOS, perform the following steps:
-
Using Windows File Explorer, right mouse-click on
setup.exefile and selectRun as administrator.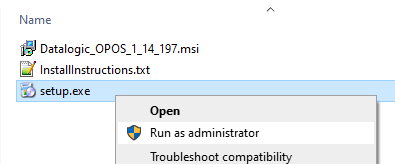
-
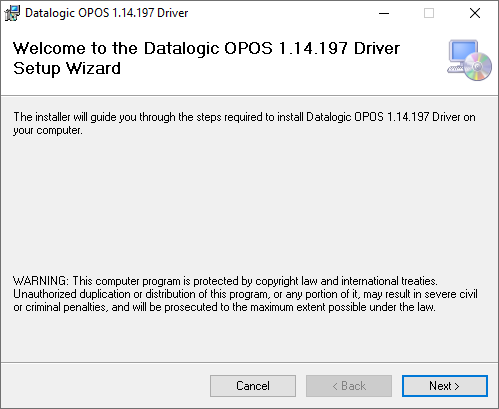
The installer starts and a Welcome dialog is displayed.
-
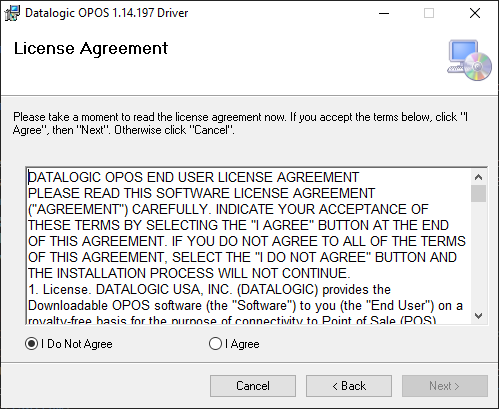
Click I Agree to indicate you accept the terms of the End User License Agreement (EULA) and then click Next to continue the installation.
-
At this point you must decide whether you want to install Datalogic's Control Objects. The usual choice is Yes (typical) but you might choose No if you use Control Objects supplied by another vendor. Click Next after selecting your option.

-
You are prompted to enter an installation path (the default is
C:\Program Files (x86)\DLSOPOS\). It's advisable to use the default location. Provide a new path as necessary and then click Next.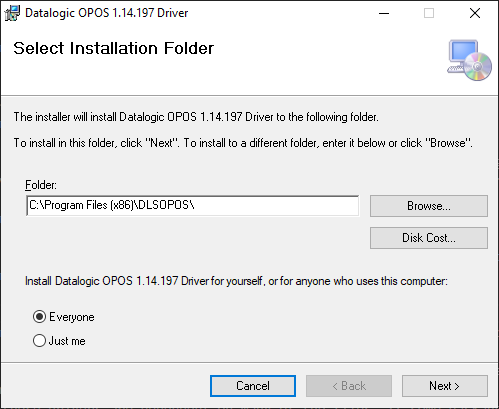
-
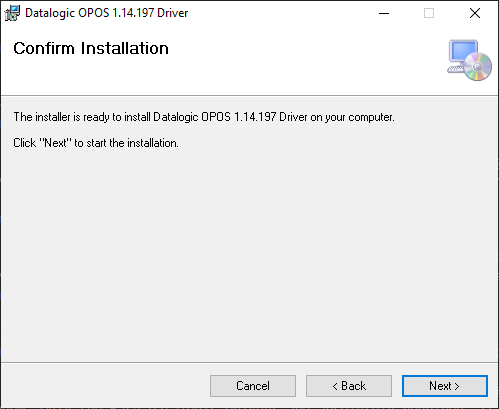
When the Confirmation dialog appears, click Next to commit to product installation.
-
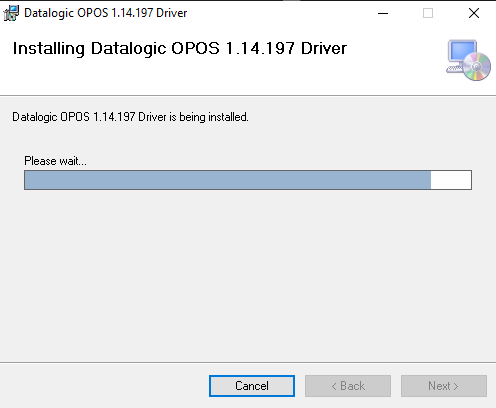
A short sequence of Progress dialogs will be displayed as product is being installed.
-
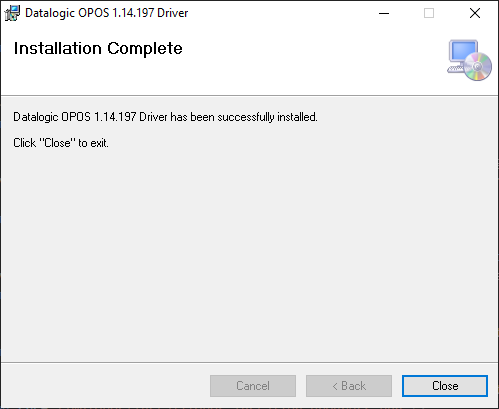
The final dialog indicates installation is complete. Click Close.
Verification
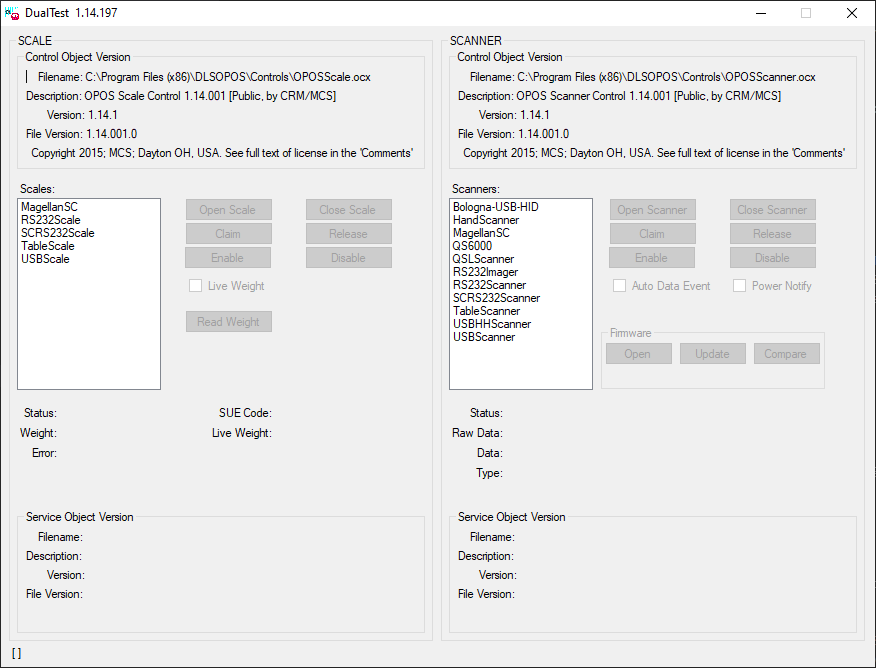
The Datalogic OPOS installer automatically installs the DualTest application for testing scanners and scales. DualTest can be started by double-click the application icon installed on your desktop. The application must be run with administrative privileges.

Upon starting DualTest, the following dialog is displayed:
Testing a scanner
The following procedure describes how to test a scanner.
-
Plug the scanner into an active USB port.
-
From the Scanners list, click on the name of the profile name representing your scanner.
Profile Name Description USBHHScanner USB-OEM Handheld Scanner USBScanner USB-OEM Fixed Retail Scanner RS232Imager USB-COM Scanner (either) RS232Scanner RS232 Scanner (either) SCRS232Scanner RS232 Single-cable Scanner -
In order, click the Open Scanner, Claim and Enable buttons.
-
Click the Auto Data Event button checkbox.
-
Scan an item. If the scanner is properly connected and configured, the scan data is automatically displayed.