Installing Datalogic JavaPOS
Datalogic JavaPOS is a set of Java-based drivers that allow Java application developers to communicate with Datalogic Scanners and Scales. The Datalogic JavaPOS drivers can be installed for use within any UnifiedPOS compliant Point of Sale application.
These drivers have been tested and verified to work on the following operating systems:
- Microsoft Windows Vista, Windows 7, Windows 8, Windows 10
- Red Hat Enterprise Linux versions 5+
- SuSE Linux Professional 9.3+, CentOS 6+, OpenSuSE 11+, Ubuntu 16.04+
Requirements
Datalogic JavaPOS has the following operating system requirements for installation:
- Windows
- Linux
- Java runtime environment version 1.7 or later
- Administrator privileges
- Java runtime environment version 1.7 or later
- Root privileges
Installing
To install Datalogic JavaPOS, perform the following steps:
If Datalogic JavaPOS is already installed on your computer, you must uninstall before installing again.
-
- Windows
- Linux
Double-click theJavaPOS_Setup.jarfile. The installer starts and a Welcome dialog is displayed.From a terminal window, executesudo java –jar JavaPOS_Setup.jar. The installer starts and a Welcome dialog is displayed.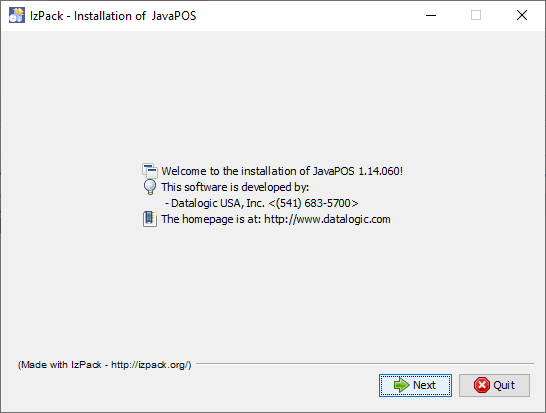
-
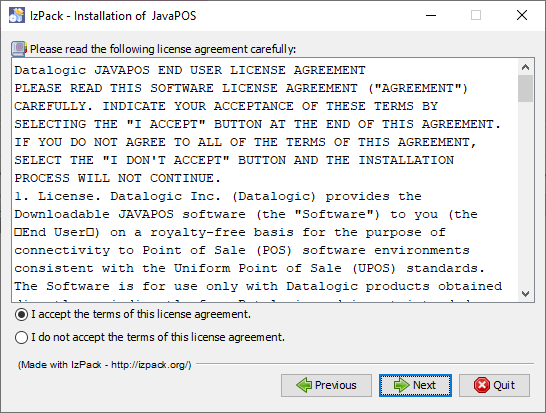
Click Next. You must click to indicate you accept the terms of the End User License Agreement (EULA) in order to continue with the installation.
-
- Windows
- Linux
Click Next. You are prompted to enter an installation path (the default isC:\Program Files\Datalogic\JavaPOS).Click Next. You are prompted to enter an installation path (the default is/usr/local/Datalogic/JavaPOS).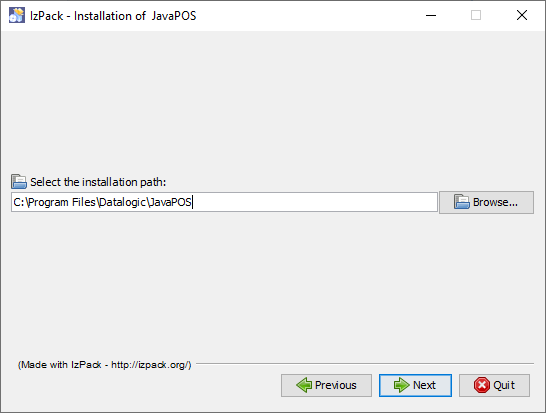
-
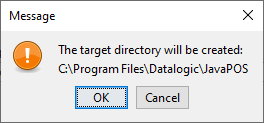
Click OK to accept directory creation.
-
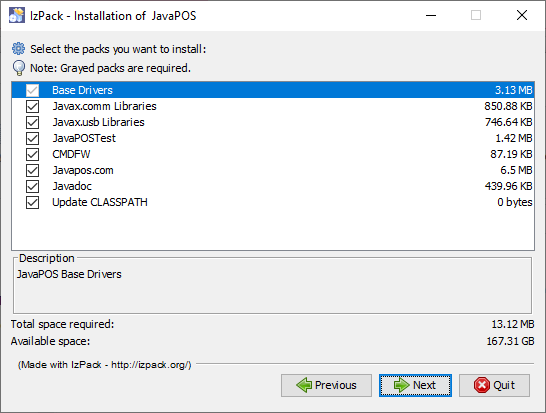
Click Next to accept the install packages. Available packages for the current version are displayed in the window. Only the Base Datalogic Drivers are absolutely required. It is always recommended that all packages be installed as these drivers are dependent on many of the files. If some packages are unchecked, it may render the drivers unusable, unless the required files are already installed on the system.
notePackages may differ slightly on Linux.
-
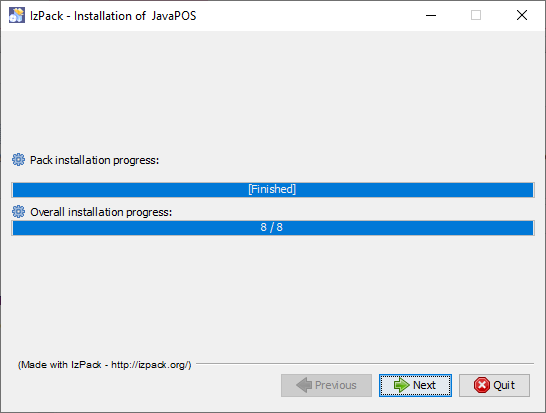
Click Next to confirm the package installation progress.
-
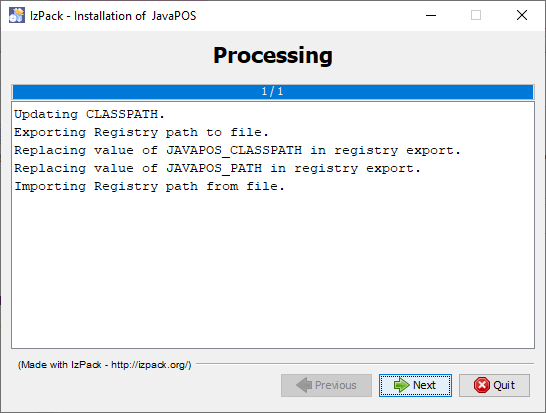
Click Next for updating Java environment variables.
-
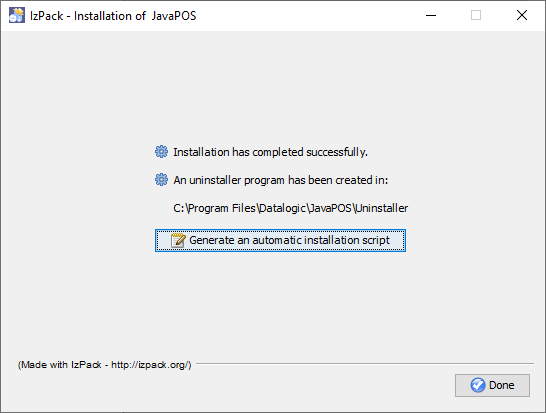
When the Installation Completed message is displayed, click Done.
Verification
The Datalogic JavaPOS installer automatically installs a JavaPOSTest application for testing all kinds of JavaPOS devices. The install directory contains a file that can be used to launch JavaPOSTest:
- Windows
- Linux
JavaPOSTest.bat file.From a terminal window, execute sudo ./JavaPOSTest.sh
JavaPOSTest should always be run with sudo privileges. Shell script may also need the executable file permission added to it by running sudo chmod +x JavaPOSTest.sh
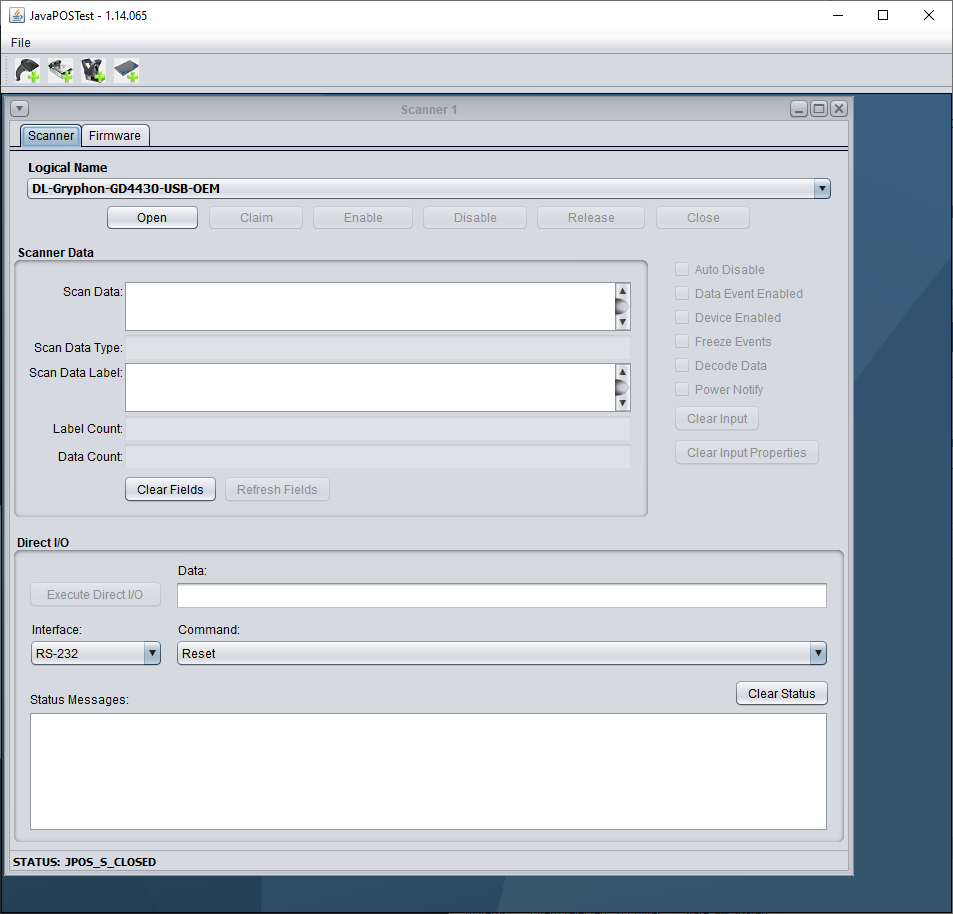
After JavaPOSTest starts, the following screen is displayed:
Connecting a scanner
The following procedure describes how to connect a scanner, using the Datalogic Magellan™ 9800i Scanner-Scale under Windows as an example. Perform the following steps:
-
Plug the scanner into an active USB port.
-
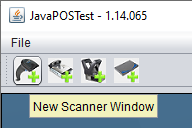
If no scanner windows are currently open within the main JavaPOSTest window, click the Scanner button.
-
In the Logical Name field, select
DL-Magellan-9800i-USB-OEM-Scanner-Scale.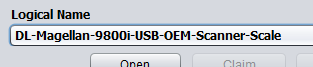
-
Click Open, and then Claim.
-
Click the Enable button, or manually select the Data event enabled, Device enabled, and Decode data checkboxes.
-
Scan an item. If the scanner is properly connected and configured, the scan data is automatically displayed.
If the Logical Name field is empty or does not contain the profile name, JavaPOSTest was unable to locate the proper jpos.xml file.
To correct this error, locate all jpos.xml files on the system and identify the one that is picked up by the application during execution. A file in the same directory where the application is launched (or listed first in the CLASSPATH) takes priority. The installer creates a default jpos.xml file in the installation folder. This file contains example profiles for many Datalogic devices.
Testing Scanner Commands
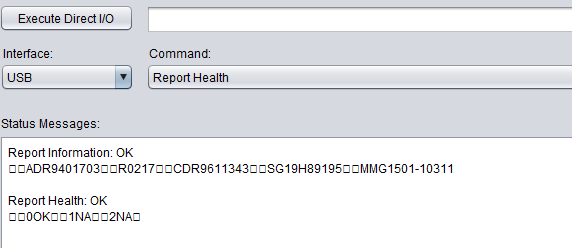
Once a scanner is connected to JavaPOSTest, it is possible to test various DirectIO commands in the DIO window. To do so, perform the following steps:
-
Select the interface for the device using the "Interface" drop down menu.
-
Select the command to send using the "Command" drop down menu.
-
Input any necessary data for the command into the "Data" field. (This parameter is command specific so refer to the DIO command reference manual).
-
Click "Execute Direct I/O".
-
The scanner response will appear in the "Status Messages" window.